- Select a drilling site from the Sites view.
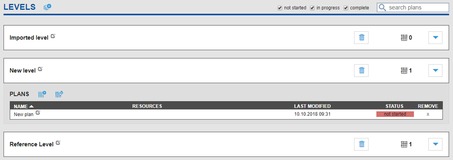
- Tap on a level to view Add/Import plan icons.
-
Click the Import Plan icon on the selected level.
 The Plan Import wizard will open.
-
Enter a name and the compass heading for the plan, select the file format to be used, and click Next.

-
If the file format chosen was any system specific format (O-Pitblast or BlastMetriX), a file drop/select area will appear.
-
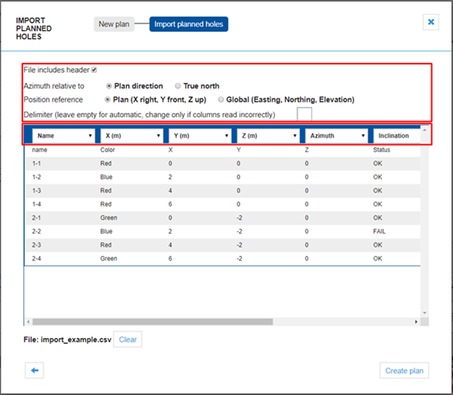
If the selected file format is General CSV, the file area will turn into a column choosing tool, where you need to match the required data columns to the columns in the file.

- Select, whether the file contains a header row, which should not be read as a data row.
- Select, whether the azimuths are relative to the plan’s front direction or geographical north.
-
Select, whether the XYZ-coordinates are in a local coordinates or do they
represent Easting, Northing and Elevation in some UTM projection.
In local coordinates Y grows towards the plan’s direction, Z grows from down to up, and X grows from left to right completing a right-handed coordinate system.
- Select the delimiter between the columns in the file, if automatic detection doesn’t work for some reason.
-
Match the required and optional data columns to the columns in the file.
Data column Description Name Any short text to be displayed on the hole. X (m) The X-coordinate of the planned hole, in meters. Y (m) The Y-coordinate of the planned hole, in meters. Z (m) The Z-coordinate of the planned hole, in meters. Azimuth Azimuth of the planned hole, in degrees. Inclination Inclination of the planned hole, in degrees. 0 degrees is straight down, 90 degrees is along the azimuth. Length (m) Length of the planned hole, in meters. UUID (optional) A globally unique id in the UUID format, which identifies the hole. If given, this will be exported in data exports. Note: If there are any other columns, they are discarded. In this example, the ‘Color’ and ‘Status’ columns are not used by Sense Systems.
-
-
Drag or choose a file into the file drop area.
If the selected file format is General CSV, the columns are automatically read and displayed.
-
Click the Create Plan button to finish.
The new plan is created, and will be included in the list of plans.

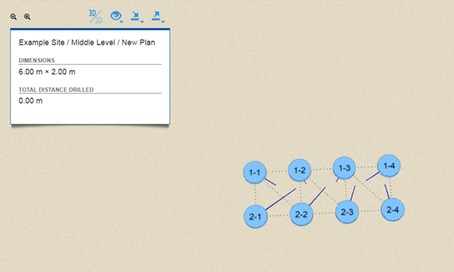
The new plan can now be viewed in the Sense Cloud, and is also available in Sense Tablet’s list of plans.
