-
Select
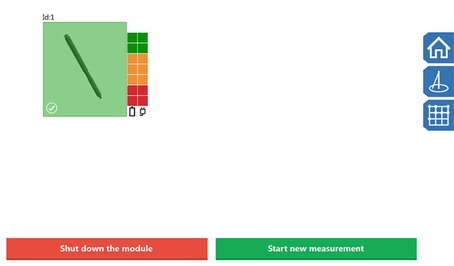
Start new measurement
to start the measuring process.
-
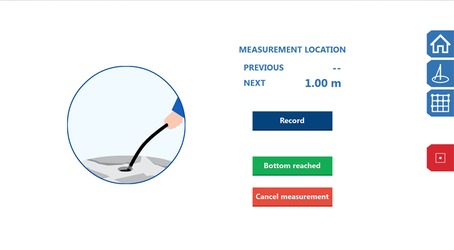
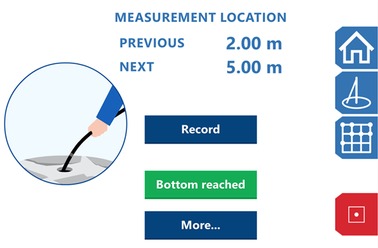
Press the Record button to record the first measurement.
 Note: Do not move the measurement probe when the measurement is being recorded. Hold the measurement probe in place until the timer and text on the display disappear.Note: If the measurement probe is shaken during measurement, the timer is reset and an alarm is sounded. In such case the system automatically records the next measurement when the measurement probe is held still. This feature identifies and rejects bad measurement data in real-time. The system eventually accepts the measurement even if the measurement probe was shaken.
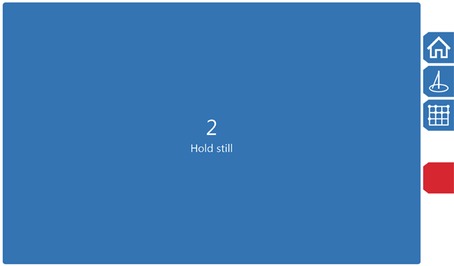
Once the measurement has been marked, the program returns to the measurement view.
-
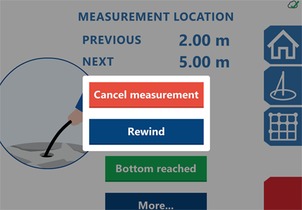
You can go back to the previous timestamp by pressing .
-
Once the bottom of the borehole has been reached, end the measurement by pressing the
Bottom reached
button.
-
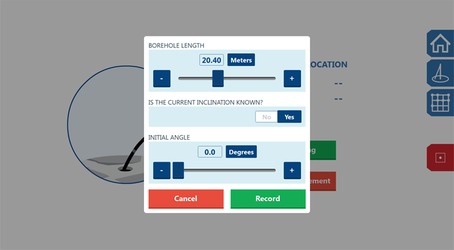
Enter the borehole length using the slider or the + and - buttons. If the current borehole inclination is known, select Yes and enter the initial angle using the slider or the + and - buttons.
-
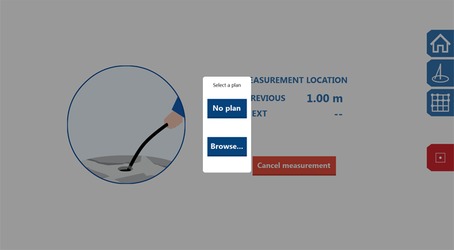
Once the measurement has been done, the results can be saved for the desired field. Select the field by pressing the
Browse...
button. If the measurement has been initiated by selecting a hole in the field, the measurement is automatically saved for the selected hole. If a site or position is not indicated for the hole, it is saved without location data.